
DuckConvert · · Updated
How to Open HEIC on Windows: 3 Simple Methods
Have you ever tried to open a photo from an iPhone on your Windows computer, only to be met with an error? The file probably had a .heic extension.
HEIC (High-Efficiency Image Container) is Apple's default image format. It saves space while keeping your photos looking great. Unfortunately, older versions of Windows don't support it natively.
If you're stuck trying to view your photos, here are the three best ways to open HEIC files on a Windows PC.
Where HEIC actually gets refused
Before choosing a method, it helps to know that "Windows cannot open it" is only one of several places HEIC runs out of road, and the others are not fixed by installing an extension on your own PC.
- Upload forms and portals. Job applications, insurance claims, government forms and printing services routinely accept
.jpgand.pngand reject anything else. This is the most common reason people need a converted copy, and no setting on your phone or computer changes what a website will accept. - Older Android devices. Support arrived gradually, so a photo you send may simply fail to open on the other end — with no useful error explaining why.
- Software that predates the format. Older photo editors, document tools and content management systems will not recognise it.
HEIC is a proprietary Apple variant of HEIF, an open standard, and its patent situation is exactly why support has spread so unevenly. That is worth keeping in mind when deciding whether to convert one photo or change how your phone records all of them.
Method 1: The Official Microsoft Extension (Paid/Free)
The most direct way to open HEIC files in Windows 10 and 11 is by installing the official HEIF Image Extensions from the Microsoft Store.
- Open the Microsoft Store app on your PC.
- Search for "HEIF Image Extensions" and install the free package.
- You will also need the HEVC Video Extensions. Microsoft currently charges $0.99 for this.
- Once both are installed, you can double-click any
.heicfile to view it in the default Windows Photos app.
Note: Sometimes, Microsoft offers the HEVC extension for free to device manufacturers, but most users will have to pay the $0.99 fee.
Method 2: Change iPhone Settings (Preventative)
If you haven't transferred the photos yet, you can tell your iPhone to automatically convert them to JPG when copying to a Mac or PC.
- Open Settings on your iPhone.
- Tap Photos.
- Scroll down to the "Transfer to Mac or PC" section.
- Select Automatic.
Now, when you plug your iPhone into your Windows PC via USB, it will transfer the images as universally readable JPGs instead of HEICs.
You can also force your iPhone to shoot in JPG format by default:
- Go to Settings > Camera > Formats.
- Change the setting from "High Efficiency" to Most Compatible.
Both settings are worth understanding before you rely on them. Most Compatible only affects photos taken from now on — every HEIC already in your library stays a HEIC. And it makes the camera write JPEGs permanently, roughly doubling what each photo costs in storage. The Automatic transfer setting is the gentler option: the phone keeps its efficient originals and converts a copy on the way out to the PC.
Method 3: Convert HEIC to JPG Online (Free & Private)
If you already have the HEIC files on your PC and don't want to pay Microsoft $0.99 or install extra software, the easiest method is to convert them using a fast, free online tool.
However, be careful: most online converters require you to upload your personal photos to their servers, which is a major privacy risk.
DuckConvert is different. Our tool converts HEIC files directly inside your browser. Your photos never leave your computer.
Here's how to do it:
- Go to the HEIC to JPG Converter.
- Drag and drop your
.heicfiles. - Confirm JPEG (.jpg) is selected as the output.
- Click Start Conversion.
- Instantly download the JPG version of your photo, ready to be viewed on any Windows PC!
By converting to JPG, you ensure that not only can you open the files, but anyone else you share them with can view them too, regardless of their device.
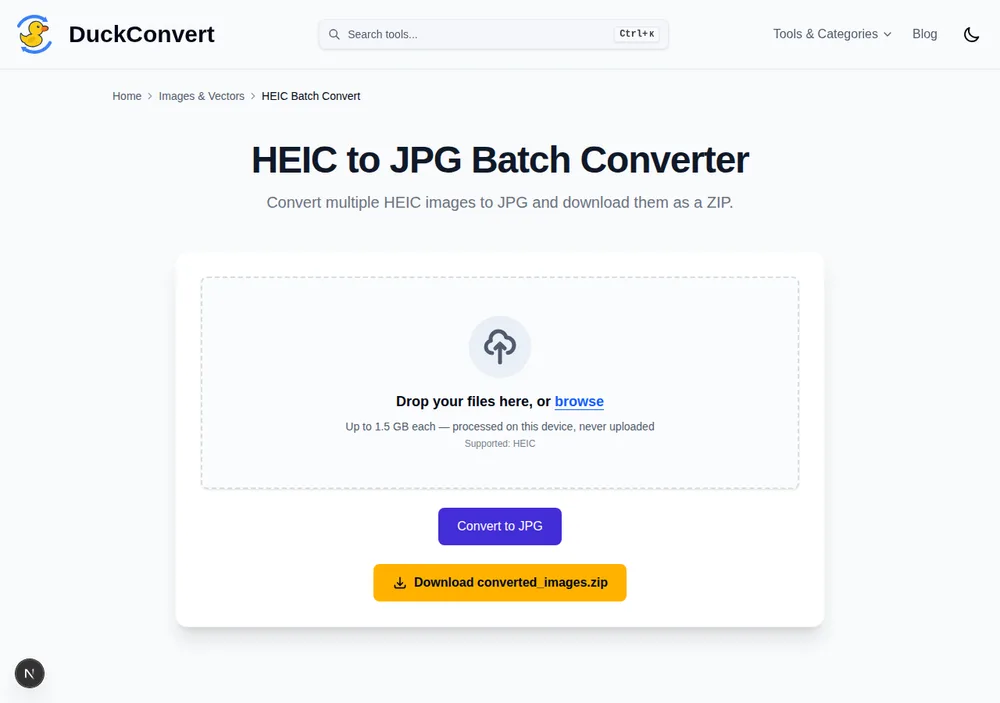
DuckConvert's HEIC converter, mid-flow, on a real .heic test file.
What converting to JPG costs you
JPG is the safe answer, and it is not a free one. HEIC is not merely a different wrapper around the same picture — it stores more, and the conversion quietly discards the difference.
- Roughly double the file size. HEIC compresses stills using HEVC, the same technology behind modern video, which is far more efficient than JPEG's thirty-year-old scheme. The same photo at the same visual quality is typically about half the size. Converting a library to JPG will noticeably increase what it occupies.
- Colour depth drops to 8 bits per channel. HEIC can store 10-bit colour; JPEG cannot. On a photo with a wide, smooth gradient — a sunset, a clear sky — banding can appear in the JPG that was not visible in the original.
- Auxiliary data is dropped. The depth map a Portrait-mode shot carries, and the HDR gain map that tells a modern display how to brighten the highlights, are additional images stored alongside the main one. JPEG has nowhere to put them, so the converted file looks flatter on an HDR screen and loses the information that made the background blur adjustable.
- A Live Photo stops being one. The motion lives in a separate video file next to the still. Convert the still and the pairing is broken; the video is left behind rather than destroyed.
- It is a second compression. The camera already compressed the image once. Decoding it and re-encoding as JPEG discards a little more, permanently.
None of this is an argument against converting. If the photo is going into a document, an email or a form that rejects HEIC, JPG is exactly right. It is an argument for keeping the originals: convert a copy for sharing and leave the HEIC files where they are, rather than converting your library in place and discovering later what was in them.